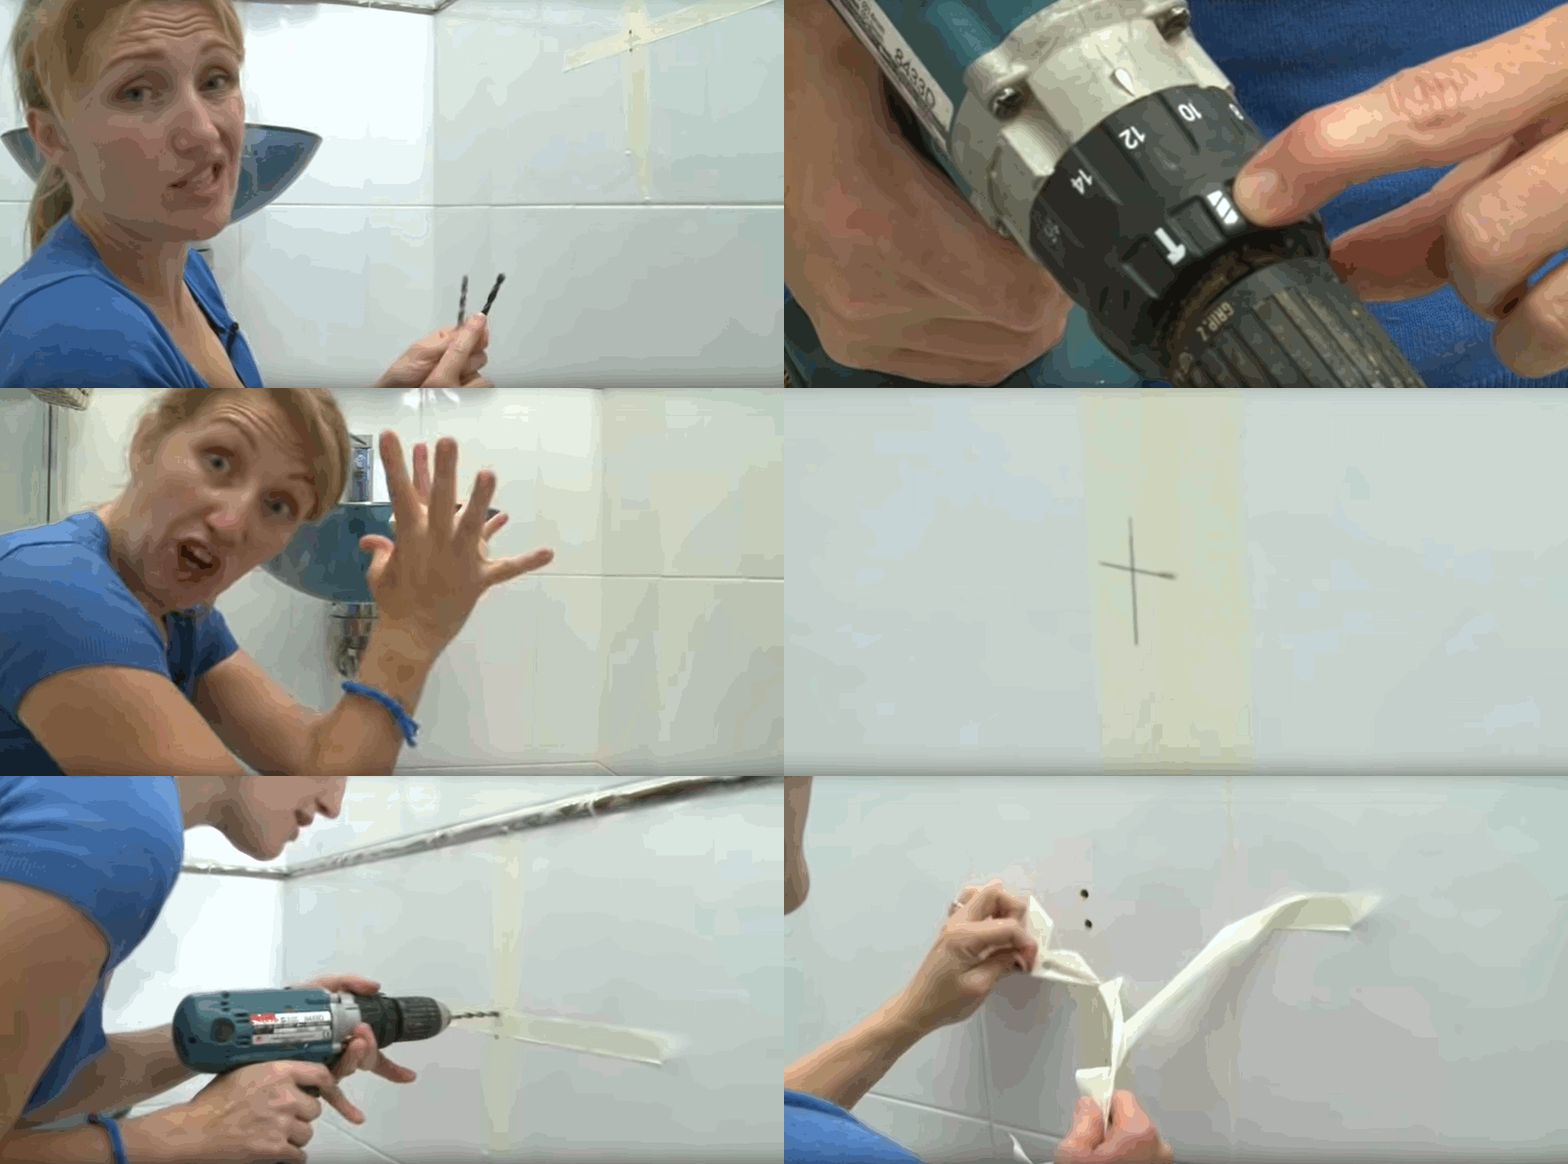
If you own an electric drill, you may have taken it to some walls, and in the process of drilling everything in the house, you may have discovered that some materials react violently to the vibrations of a drill
Before you begin to get into the details of the drill bits you should be using, or the appropriate torque, speed, and other settings of your drill, one of the most common issues you may have faced would be the destruction of tiles when attempting to put up fixtures in the bathroom or kitchen.
Tiles tend to smooth, which causes the drill bit to slip and can throw the alignment of your fixtures out the window. Tiles also tend to be hard, which perhaps prompts you to apply too much pressure; they’re also brittle and prone to cracking, which could you leave you in tears.
Drill bits
The kind of drill bit you should be using for tiles and other dense materials such as stone look very different from the kind used for wood. The bits you get with your electric drill set usually look like twisted metal rods, and these will not cut through the fire-hardened glaze of most modern tiles.
You’ll need a masonry drill bit with a larger tip, preferably one coated in materials such as durium resin, tungsten carbide, or even industrial diamond, for particularly tough tiles.
Settings
The appropriate speed settings depend on the drill bit you’ve selected, but you would generally want to start with a slow speed and slowly work your way up to reduce the chances of cracking your tiles.
A high torque setting is only necessary for when you want to drive a screw into the hole. As with speed, start low, then work your way up in torque until you get the result you want. Setting your torque too high could damage the tile.
Your electric drill may have a hammer setting, don’t use it unless you want to hack out a tile.
The procedure
Every toolbox should contain a roll of duct tape, not the kind you get from a stationery store, but the thick kind you find in a hardware shop.
1. Put some tape over where you want to drill,
2. use a measuring tape or metal ruler, and a marker, to mark the exact spot,
3. use a masonry bit to drill an appropriately sized hole through the tile,
4. set the speed just low enough that the drill doesn’t fly out of your hands, and
5. apply just enough pressure to get a guide hole drilled.
6. Once you’ve got your holes drilled, shove a wall plug into each of them so that your screw driving doesn’t damage the tiles.
Practice
Watch an expert do it and then try it out yourself.
It’s all very tactile, so if you’ve got spare tiles on hand, train your senses on some sacrificial pieces before you take your drill to the wall – or you'll find yourself having to remove some broken tiles.
Disclaimer
This article is intended to convey general information only. It does not constitute advice for your specific needs. This article cannot disclose all of the risks and other factors necessary to evaluate a particular situation.
Any interested party should study each situation carefully. You should seek and obtain independent professional advice for your specific needs and situation.
Stay ahead of the crowd and enjoy fresh insights on real estate, property development, and lifestyle trends when you subscribe to our newsletter and follow us on social media.


